Your first hour in Roomline
Six steps take a house from an address to a working page: the property, its bedrooms, the tenants, their agreements, the rent as it arrives, and the bills. Each step shows what you should see when it worked.
On this page
Find your way around
The left side of the screen is the whole workspace: Properties, Rent, Tenants and Files, with Settings at the bottom. On a phone the same places sit along the bottom of the screen.
Open a property and three more appear under its name: Overview (how the house is doing), Board (every room, person and agreement as connected cards) and Floor plan (the rooms drawn in place). Most days start on the Overview.
1. Add your property
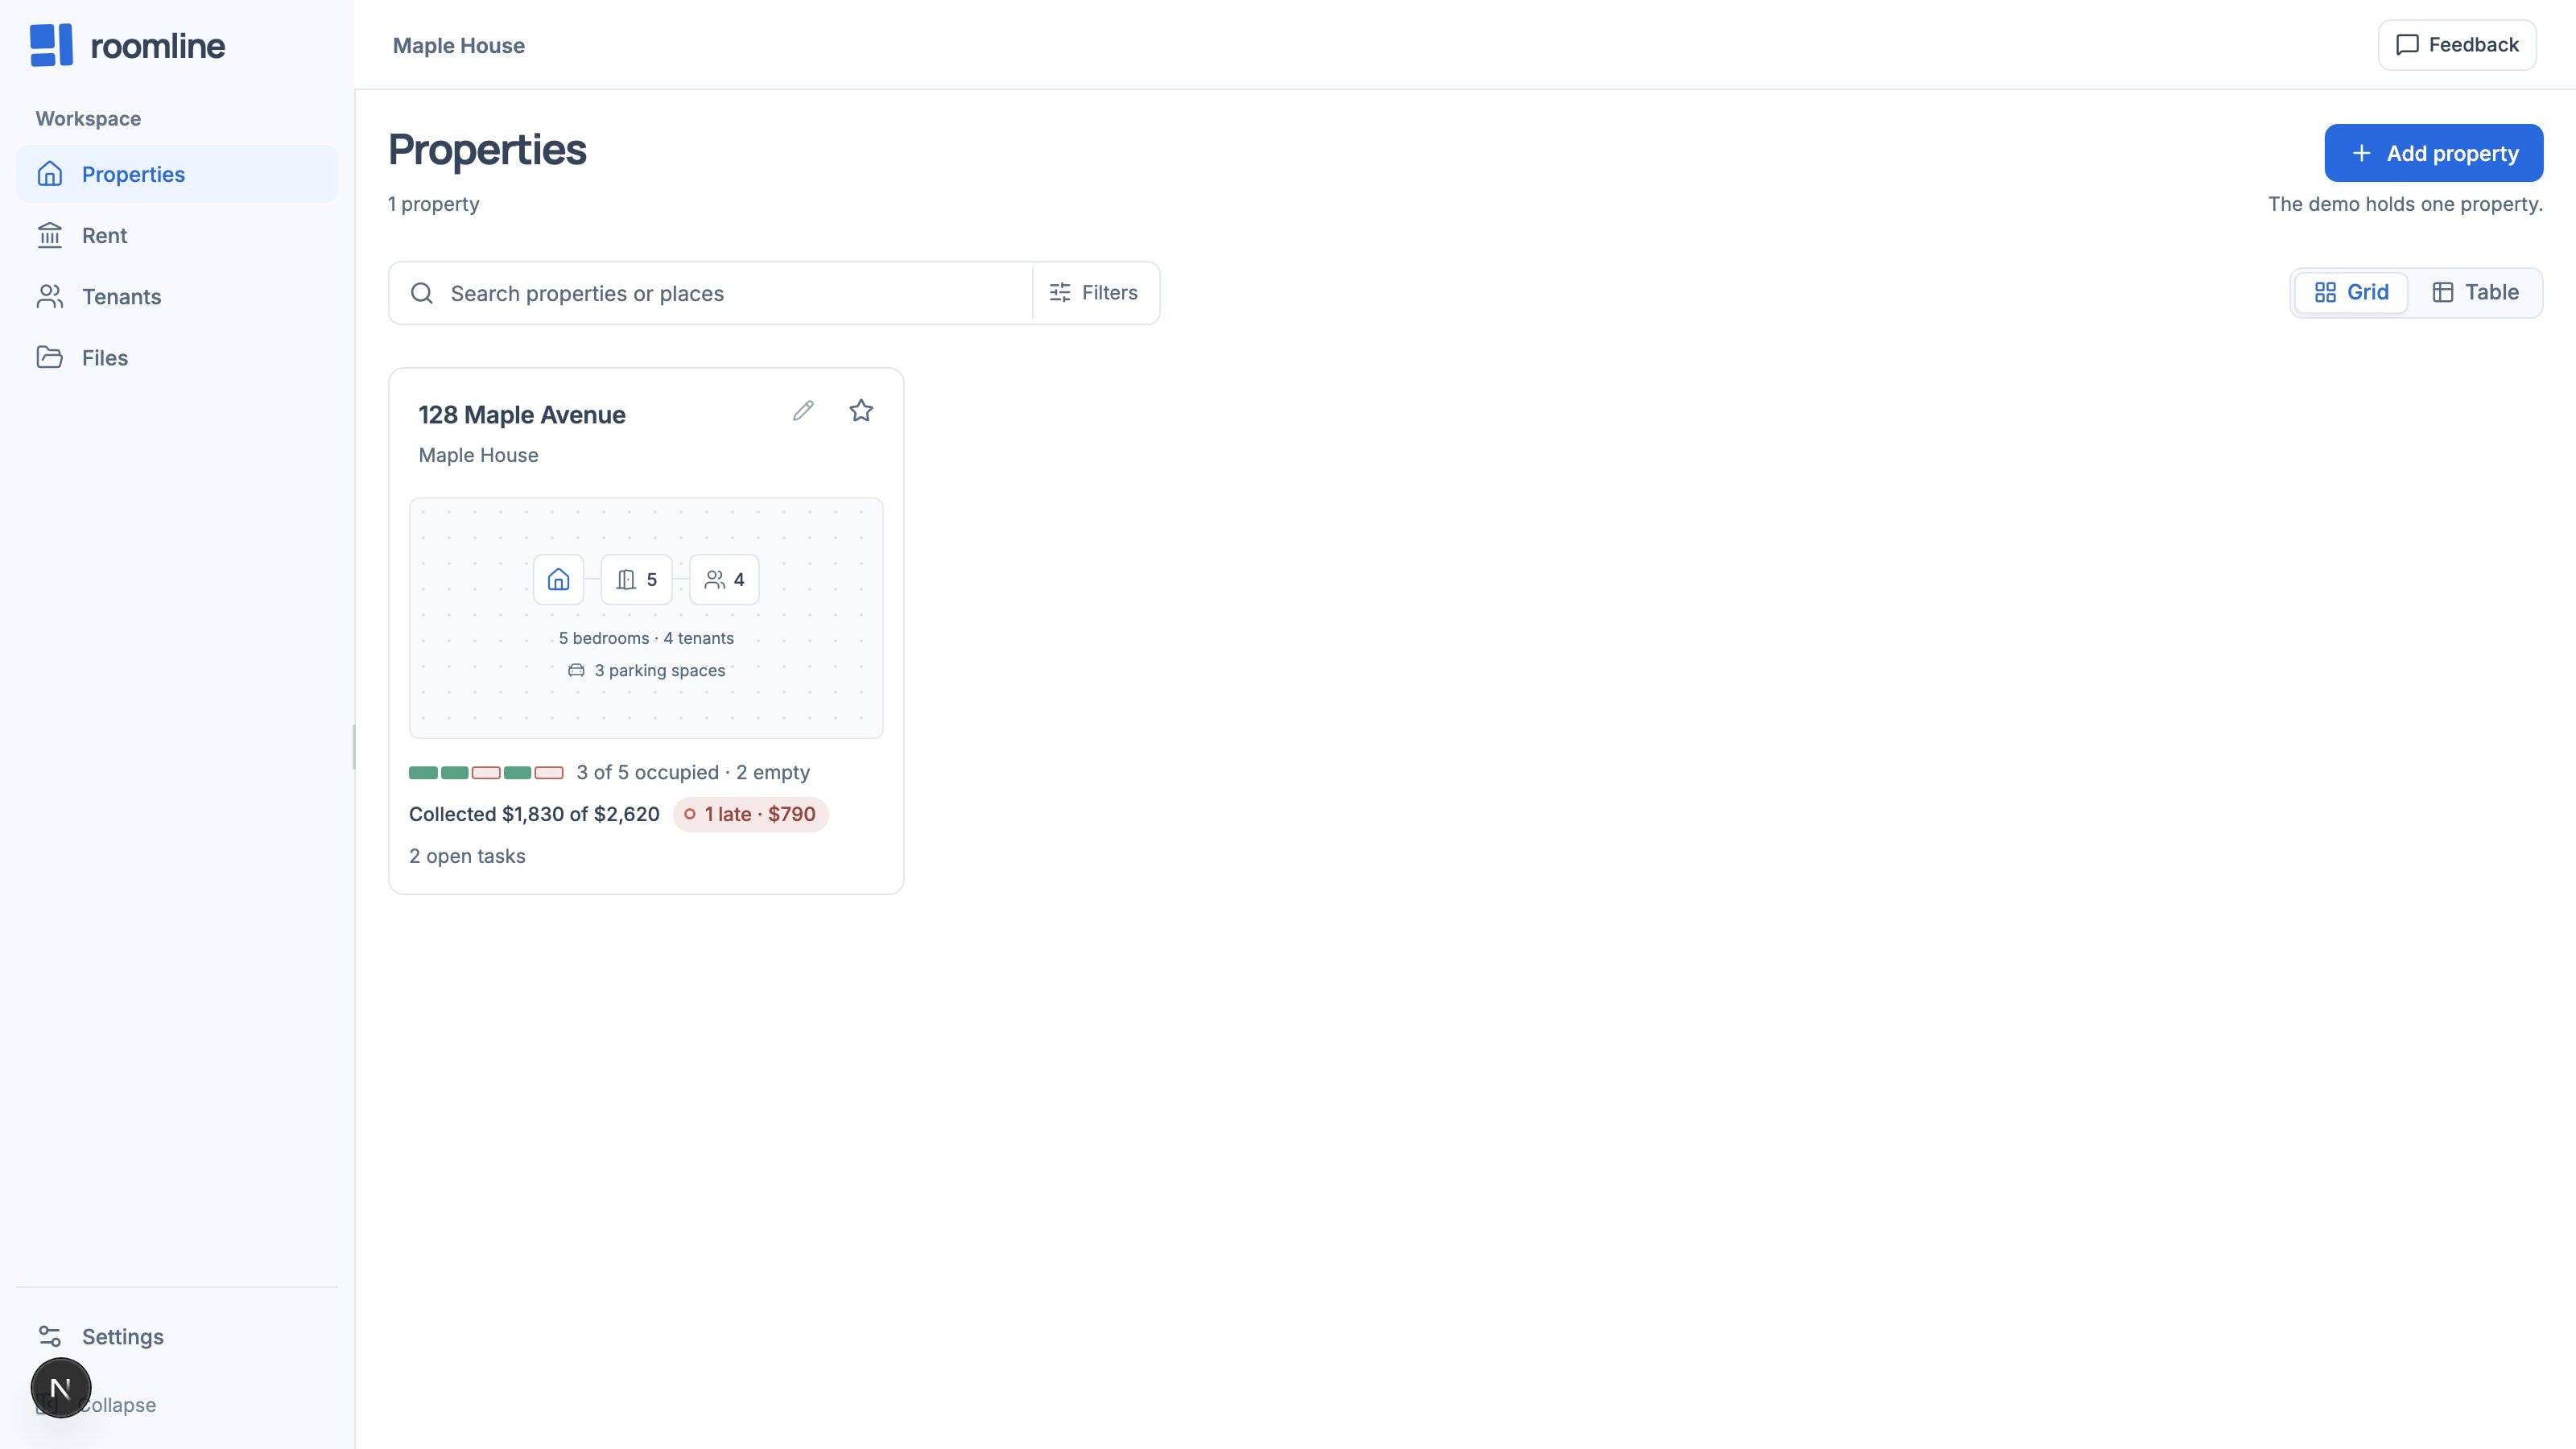
- Open Properties and choose Add property
Search for the Property address and pick it. Add an Alias if the house has a name you use, such as Maple House.
- Say how you rent it
Rental setup is By room when each bedroom is let separately, or Whole property when one agreement covers the house. Choose Add property.
- Open it
Select the property’s card. Its Board opens, and the Get this property ready card appears in the corner.
2. Draw the bedrooms
- Open Floor plan
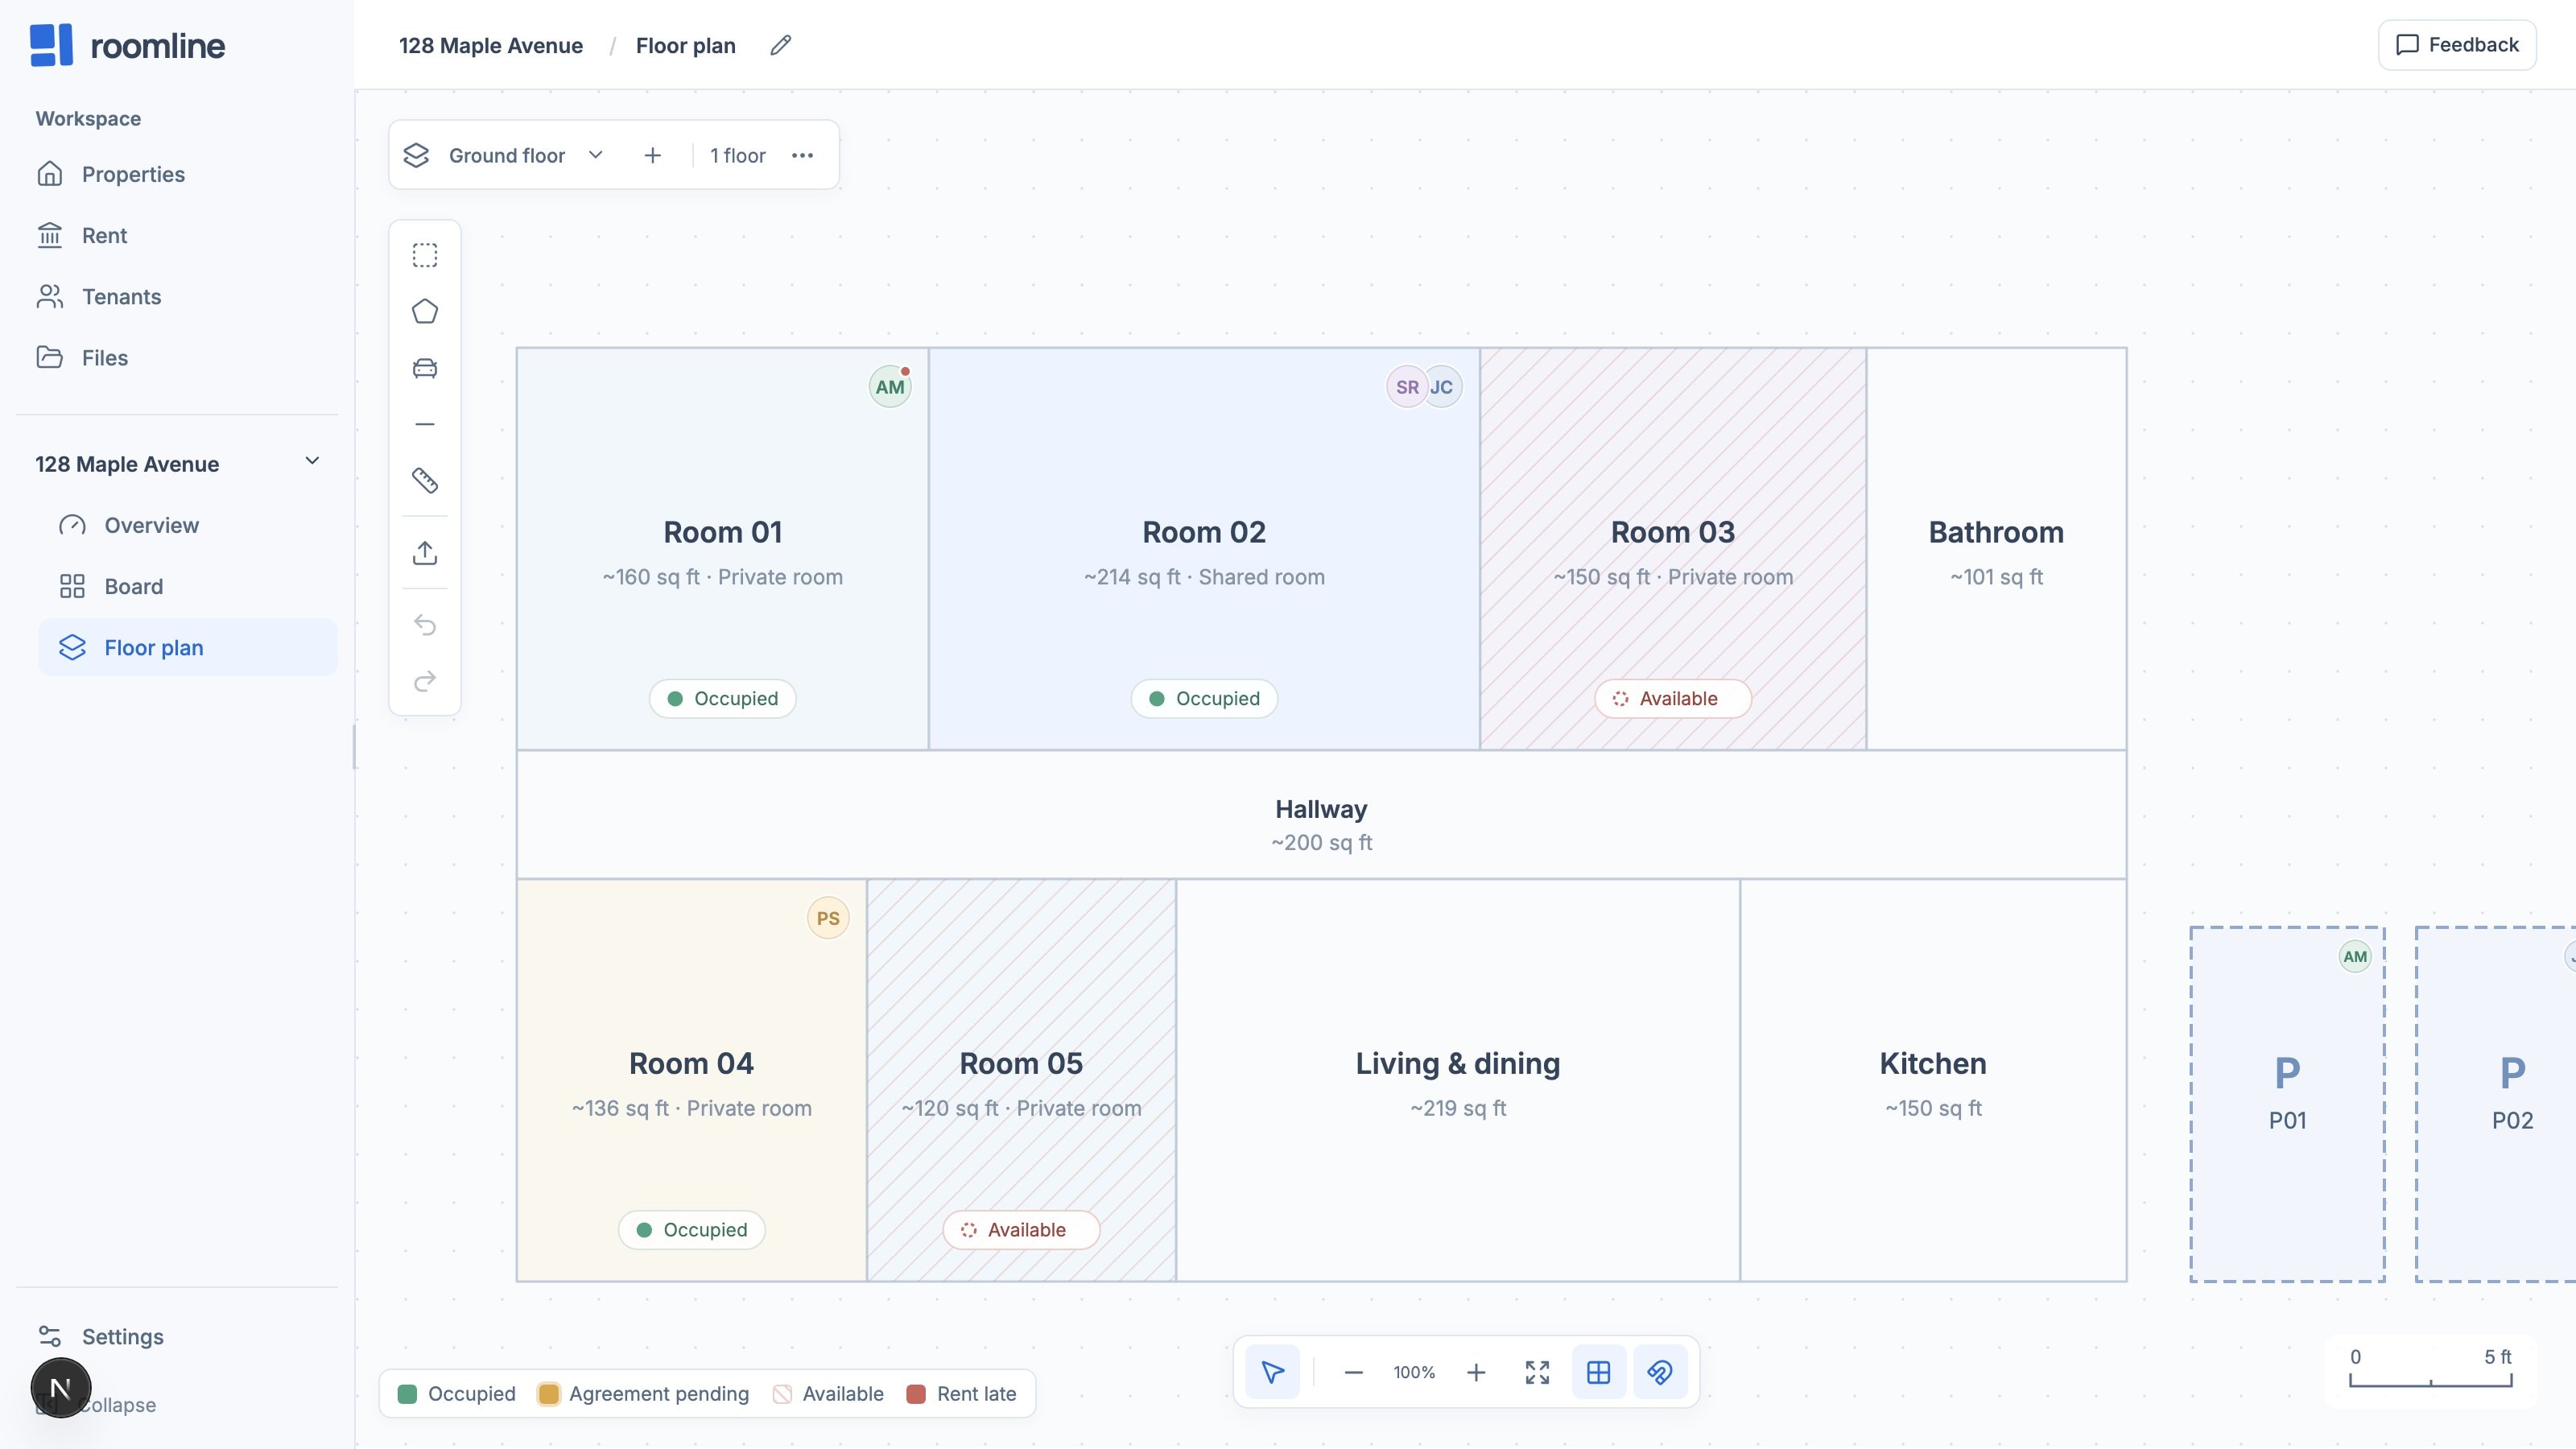
Choose Draw a room in the corner card, or Floor plan under the property’s name. You can upload a floor-plan image to trace over, or draw straight onto the grid.
- Draw each bedroom
Choose Rectangular room (R) and drag from one corner to the opposite one. Select the room to give it a name, such as Room 01, and an asking rent. Draw the kitchen and other shared spaces too, and set their Room type so they aren’t counted as bedrooms.
3. Add your tenants
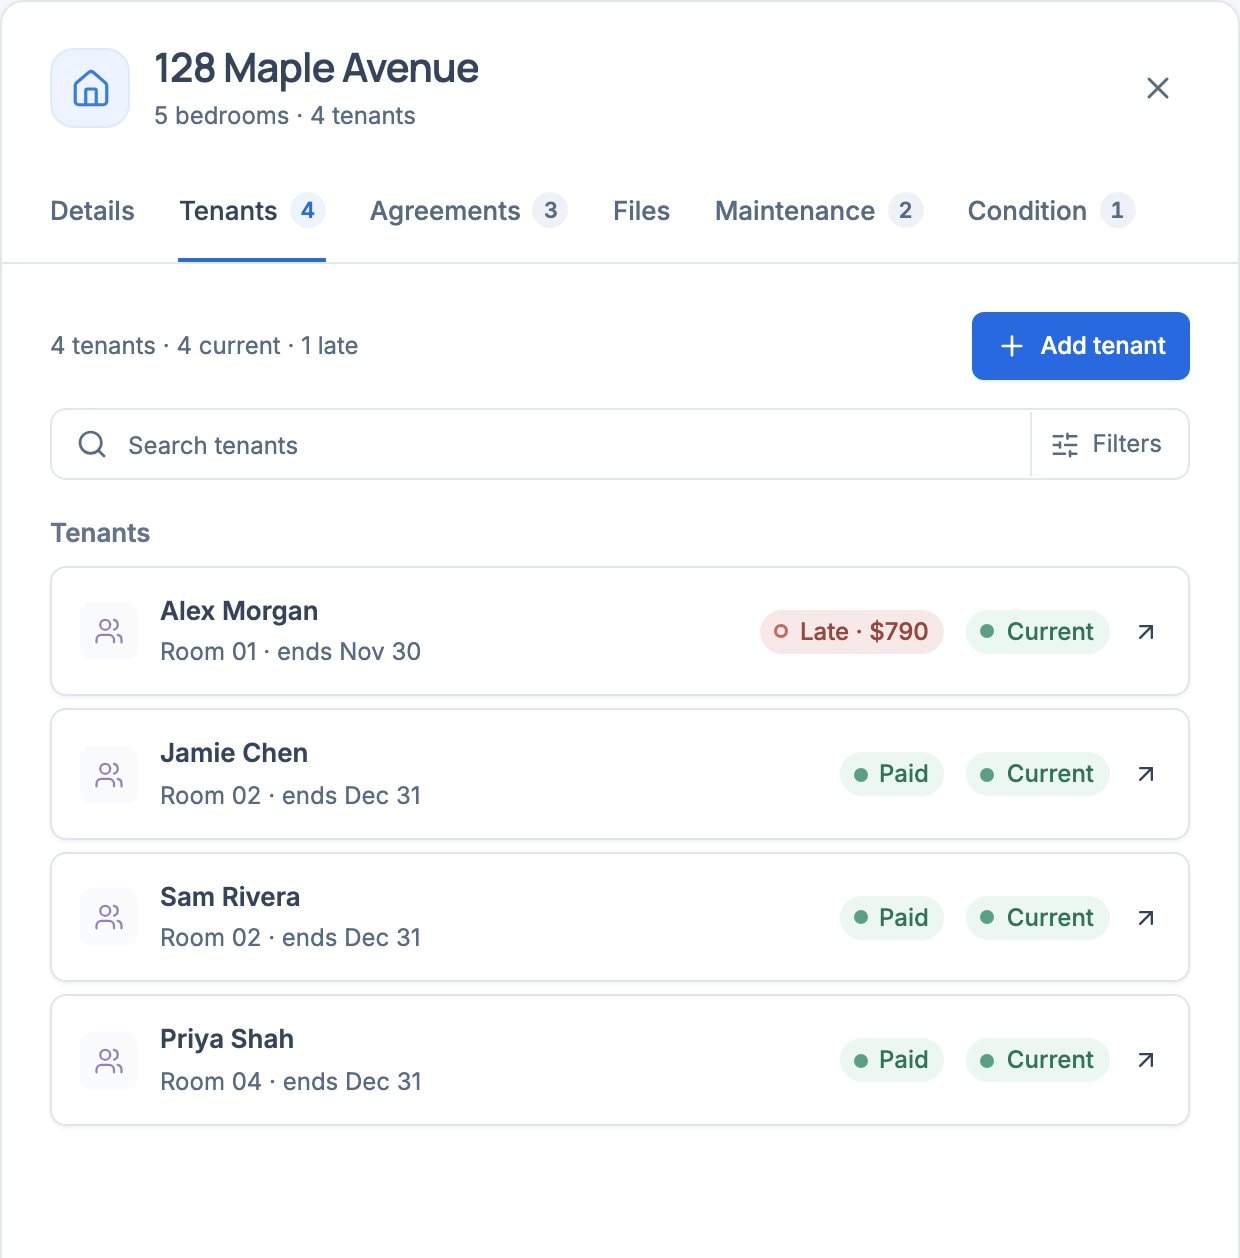
- Open the property’s Tenants tab and choose Add tenant
Enter their Full name, and an email or phone if you have one. If they are already in Roomline — moved out, or at another of your houses — their name appears under Already on file as you type; choose Bring back or Move here instead of adding them twice.
- Repeat for everyone in the house
Each person gets their own record, even when two share a room.
4. Record each agreement
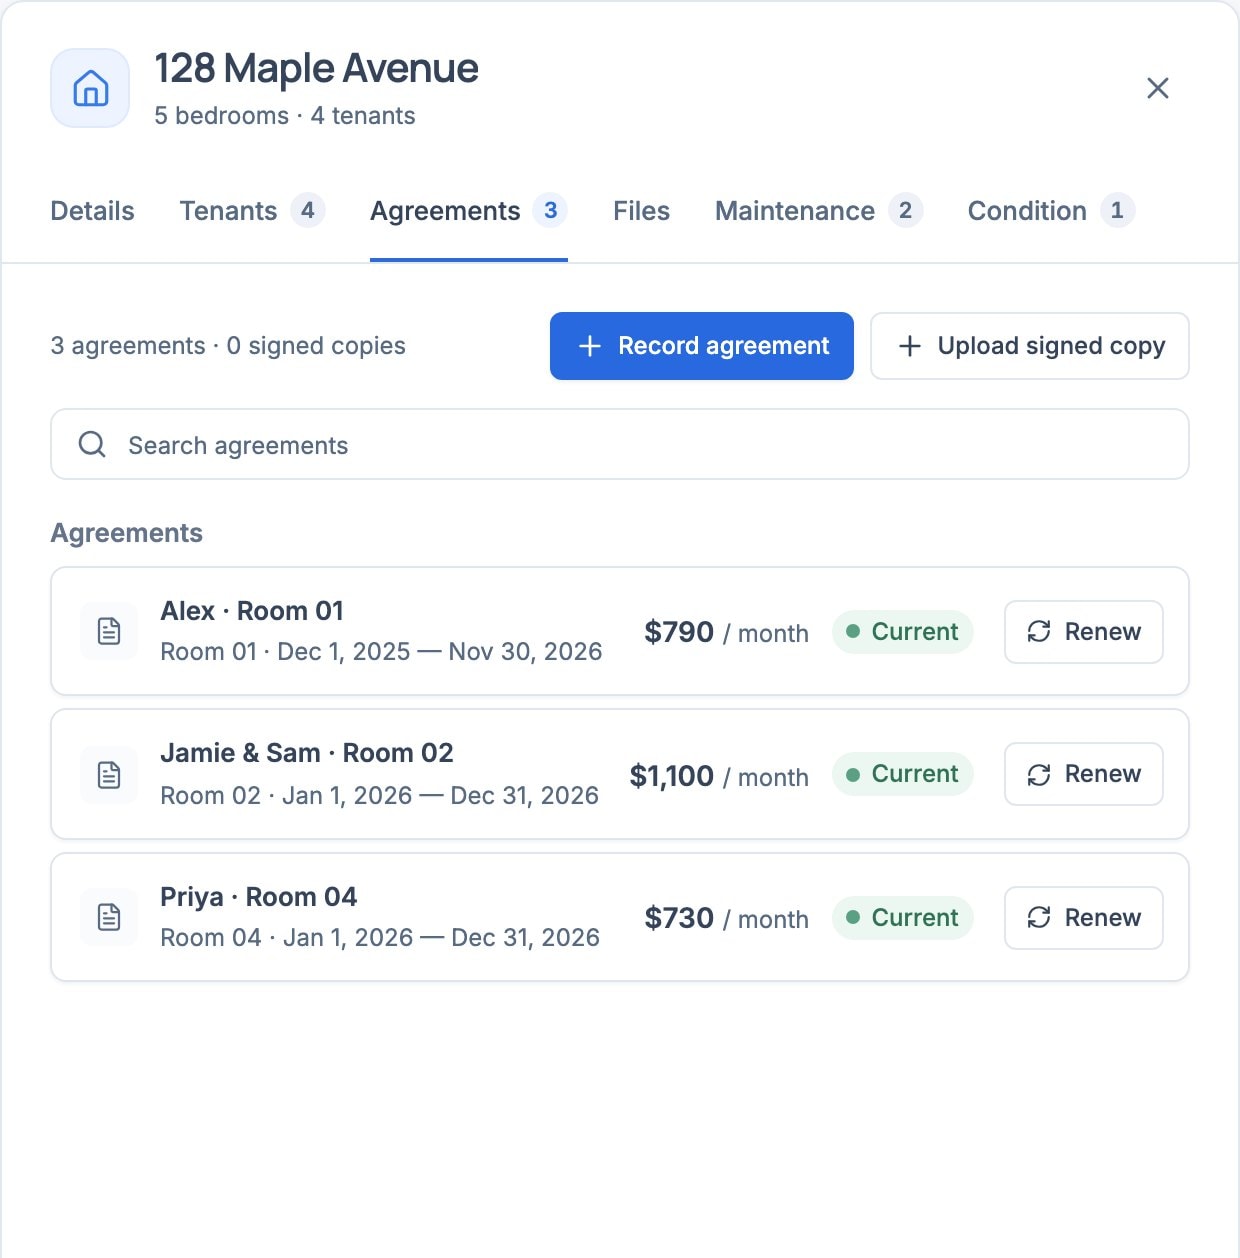
- Choose Record agreement on the Agreements tab
Pick who is on it and which room they rent, then Continue. Enter the Start date, End date and Monthly rent.
- Set the due day, then create it
Open Additional details to set the Rent due day. Choose Create agreement. Attach the signed copy now or later.
5. Record rent as it arrives
- Choose Record payment on the Overview
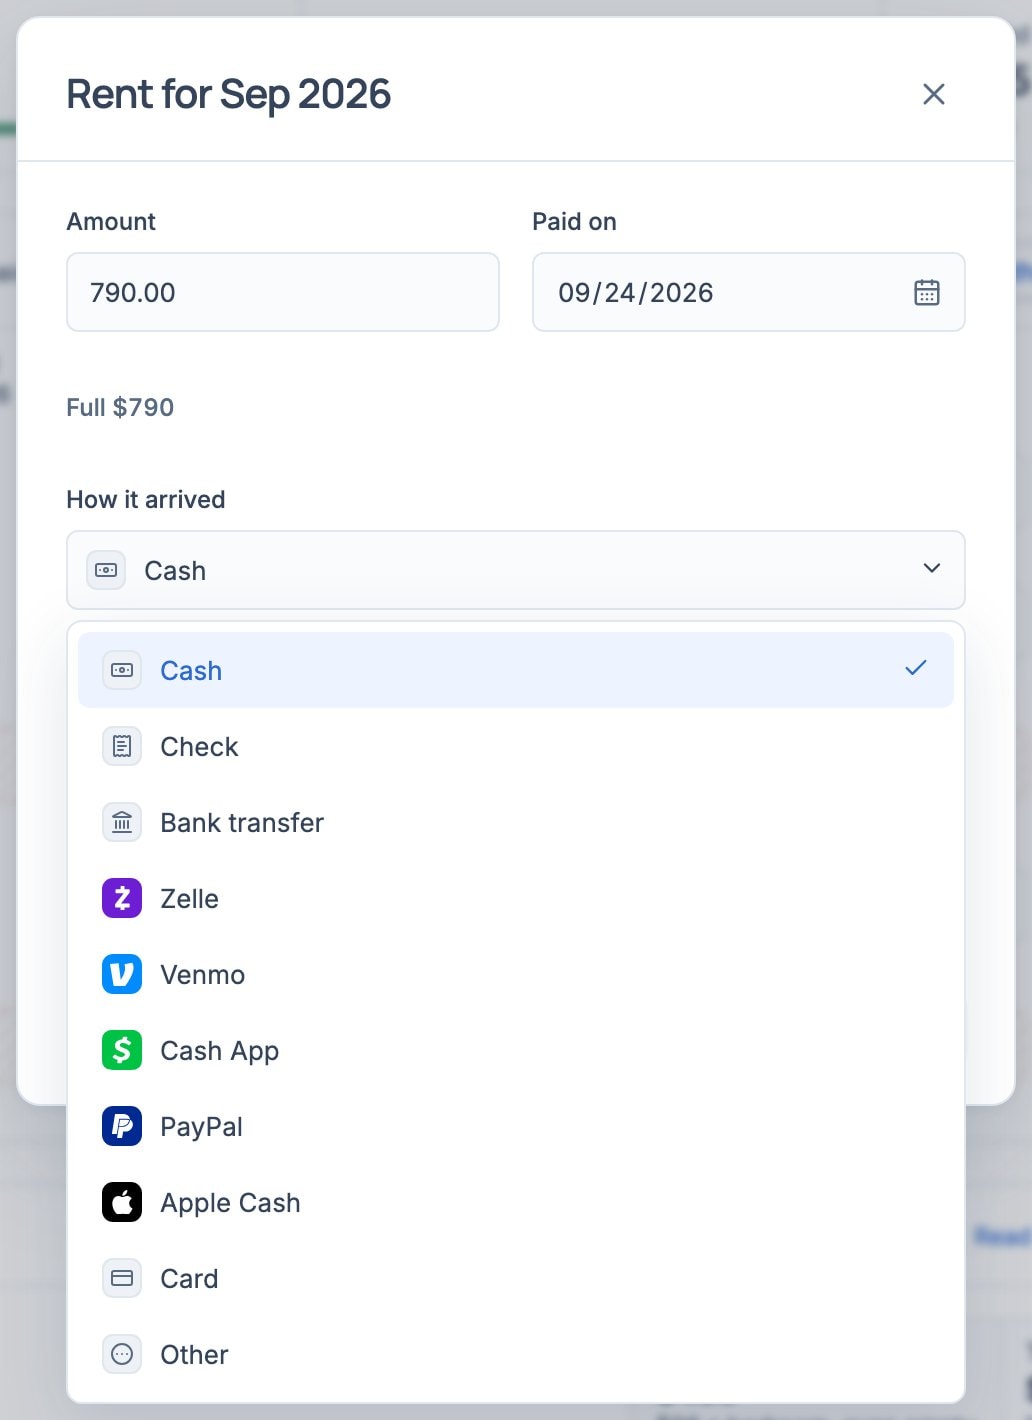
Pick the agreement. Check the Amount and the date it was Paid on, and choose How it arrived — cash, check, Zelle, Venmo, Cash App and the rest. Choose Record payment.
- Or let your bank do it
Under Rent, link your bank and turn on matching. Deposits that look like an agreement’s rent are offered for you to confirm; Roomline never moves money.
6. Add the house’s bills
- Choose each bill under Utilities
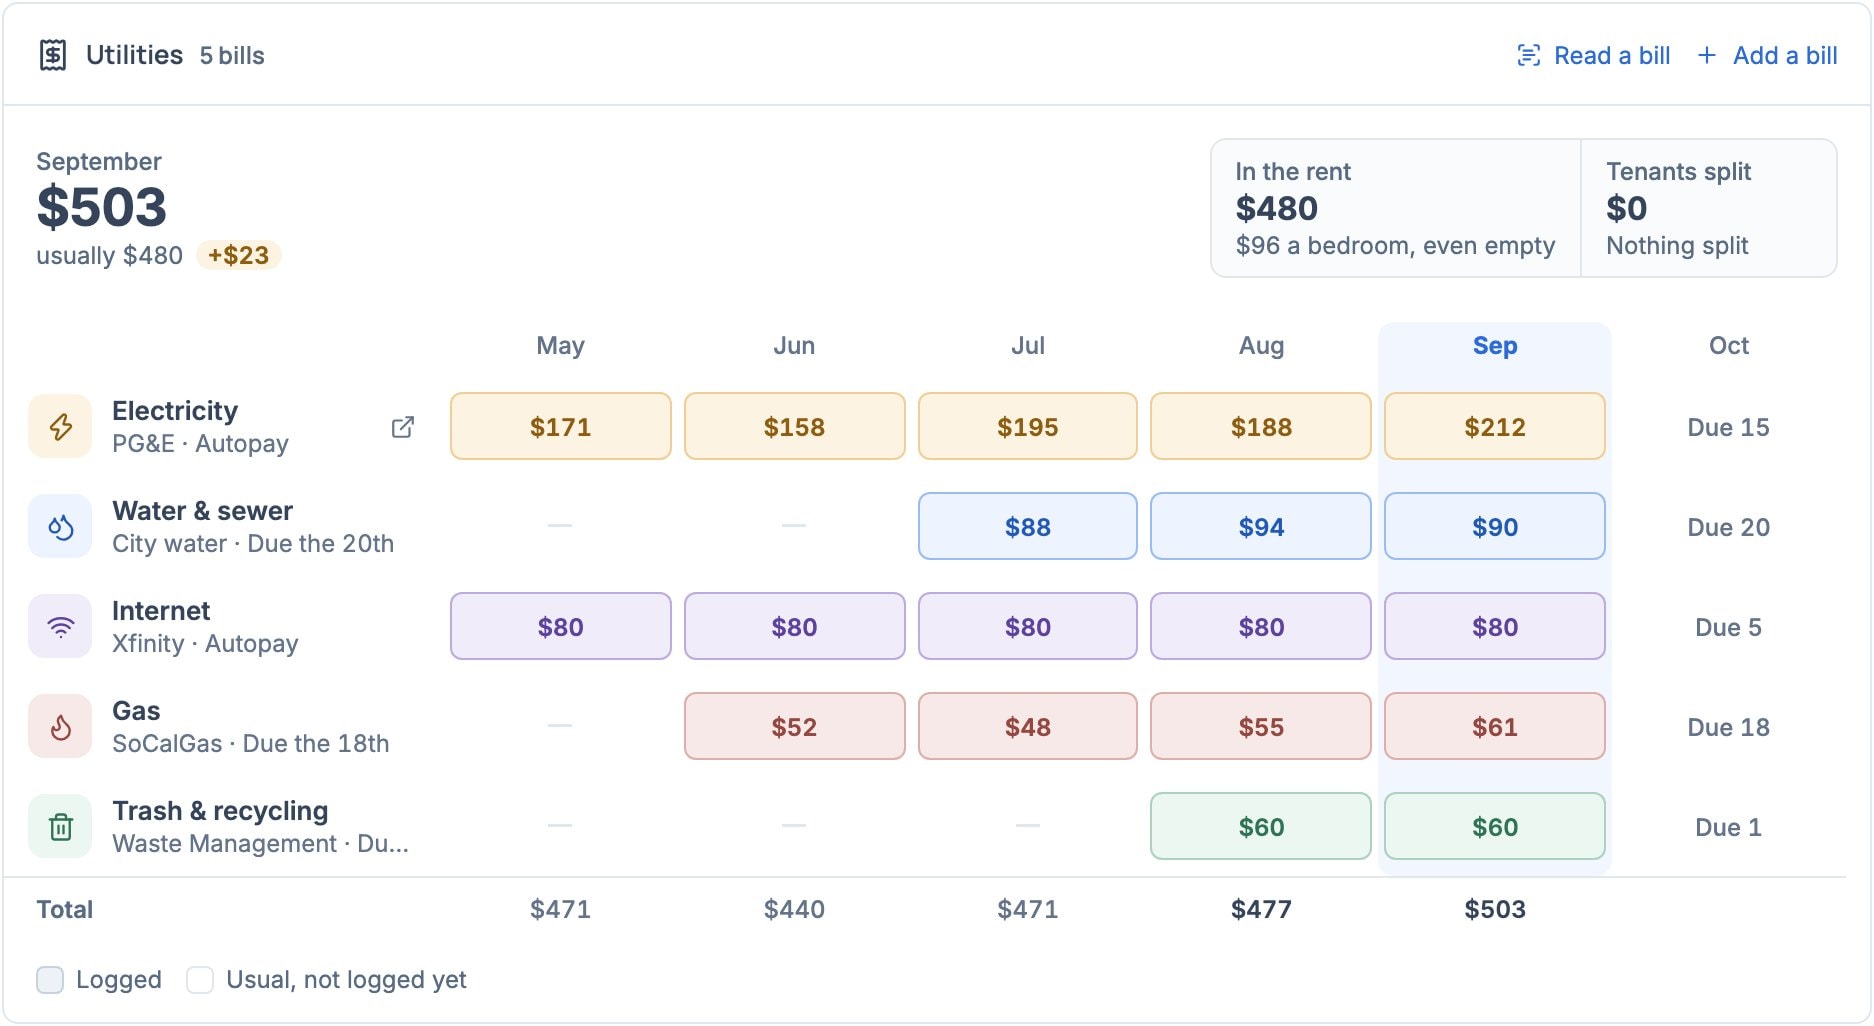
On the Overview, choose the bills the house pays — Electricity, Gas, Water, Internet, Trash — and enter what each usually costs a month. Say whether it is In rent or Split between tenants.
- Log each month as it comes
Select this month’s tile on a bill and type the amount, or choose Read a bill and pick the bill’s PDF. A linked bank fills in payments to the bill’s company for you to confirm.
Read your Overview
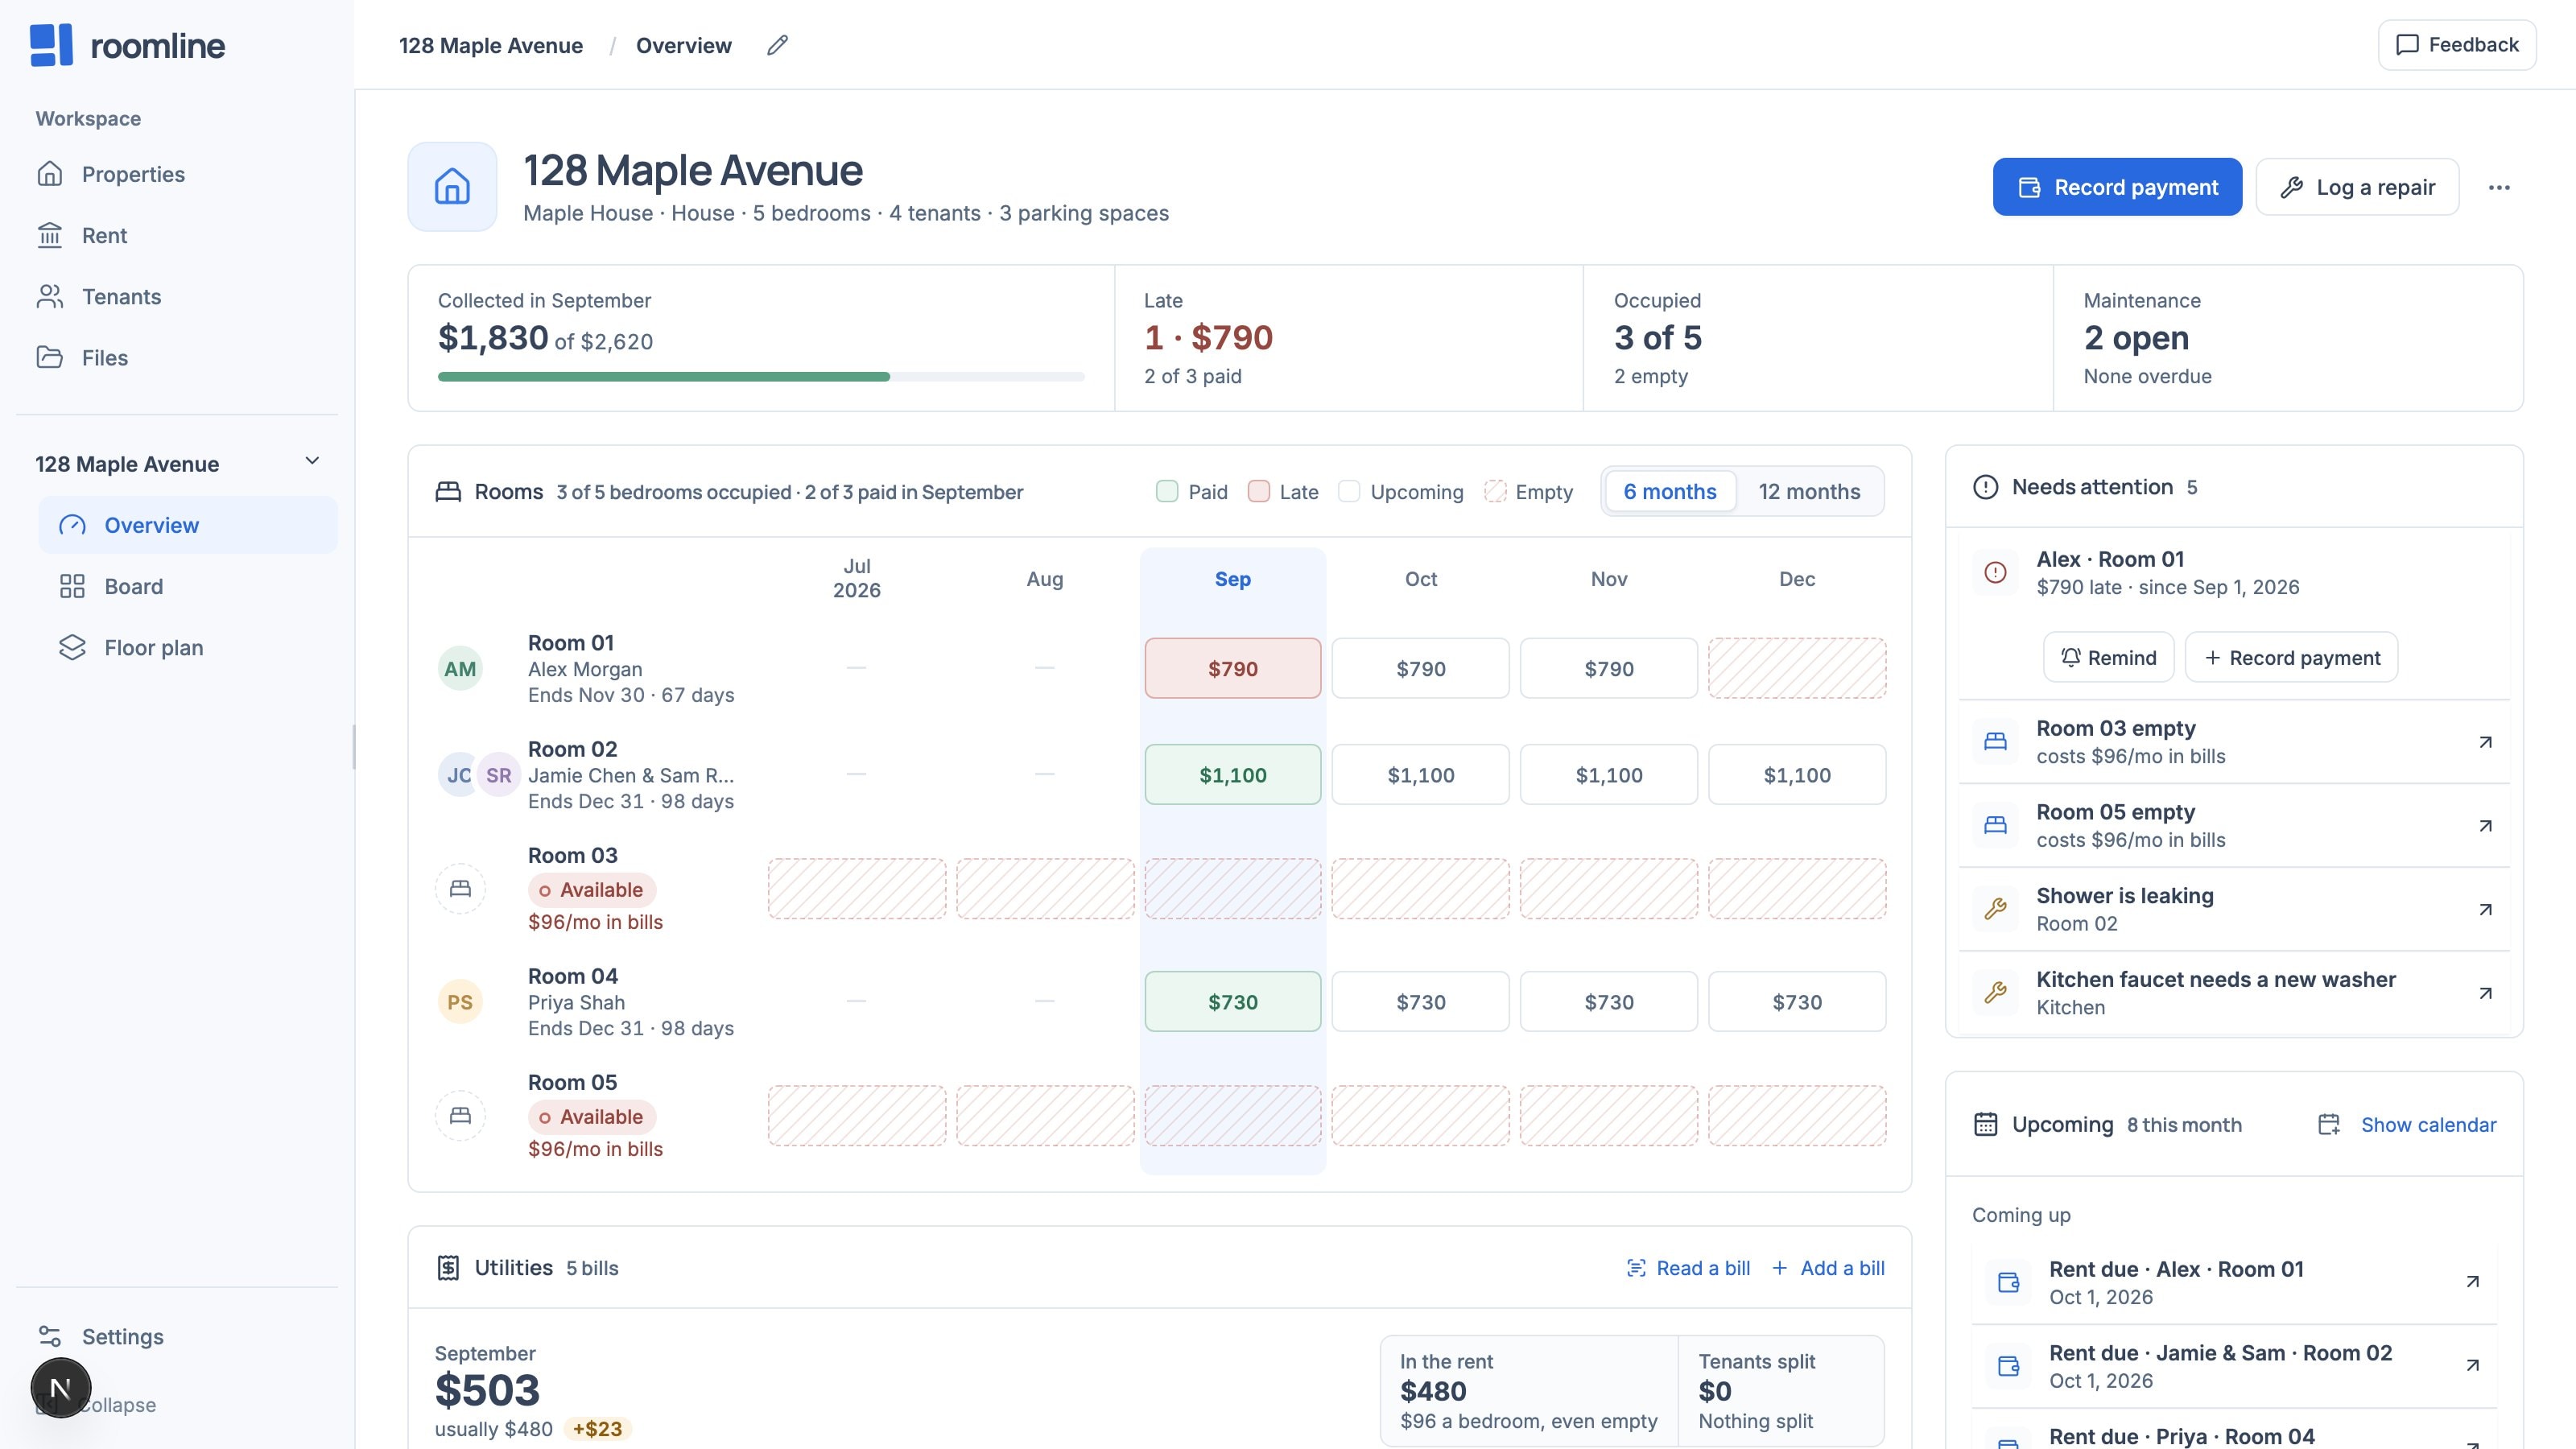
Once the house is set up, the Overview answers the daily questions at a glance.
- Across the top: rent collected this month, what is late, how many bedrooms are let, and open repairs. Select any of them to open the page behind it.
- Needs attention lists late rent, empty rooms and repairs, with Remind and Record payment right on a late row.
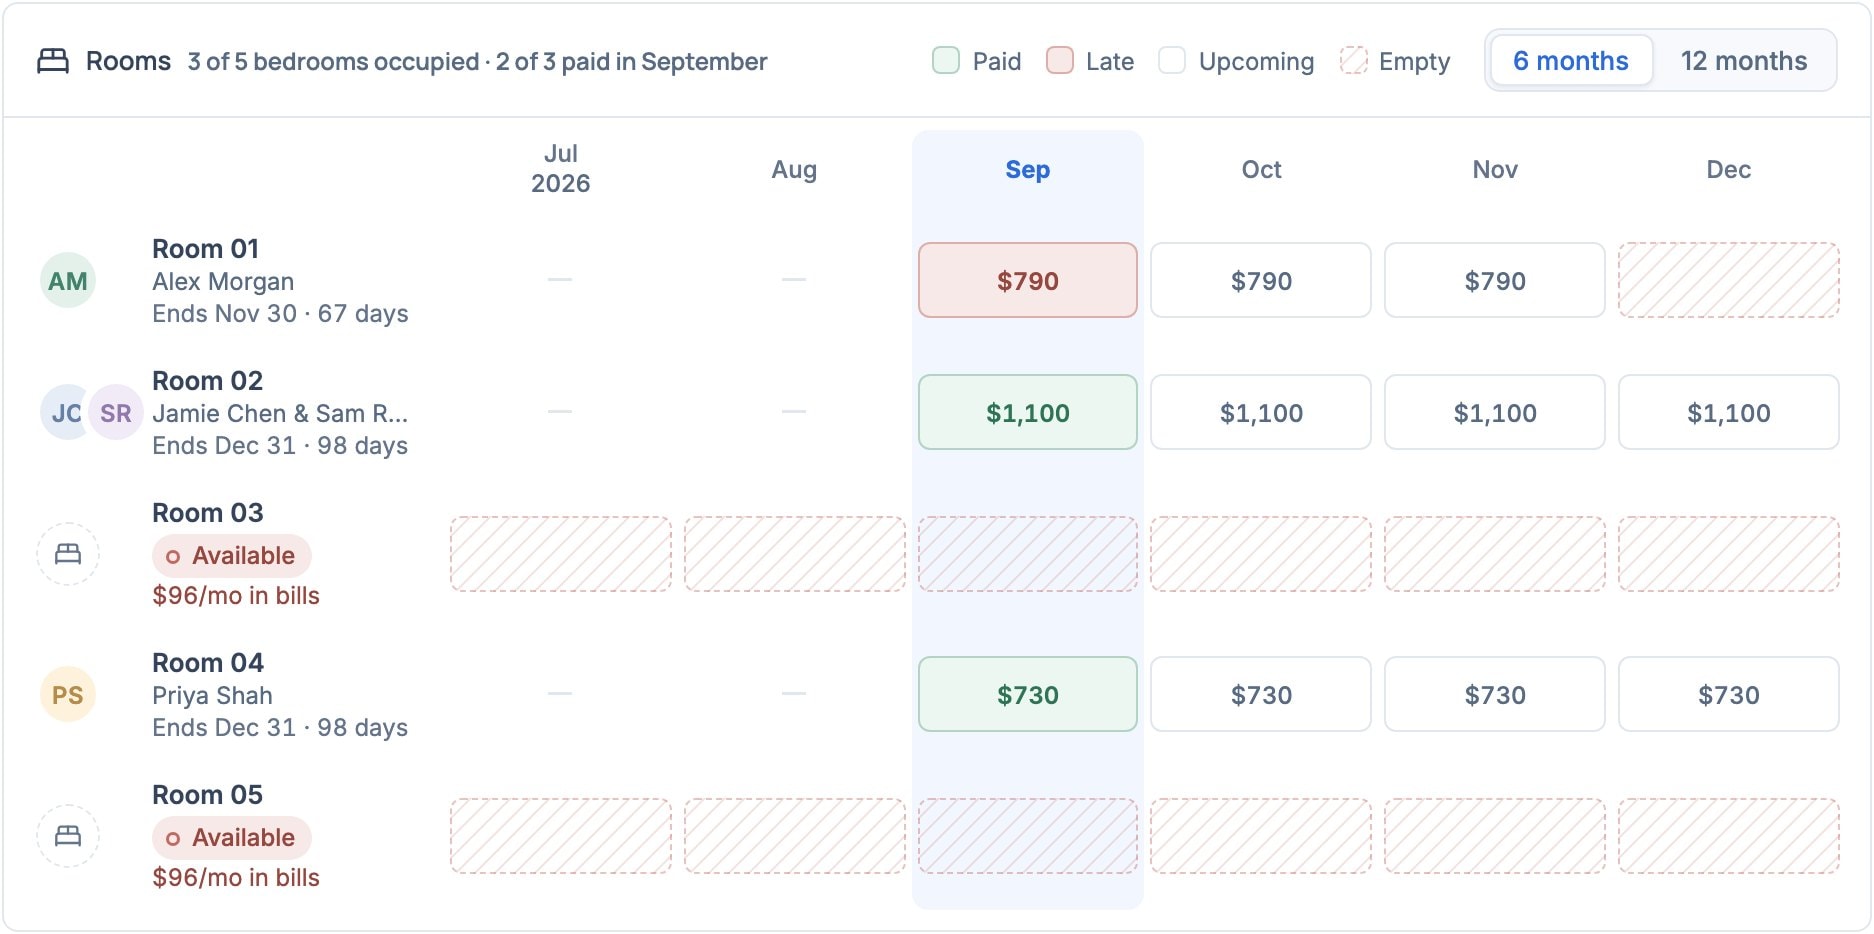
- Rooms shows every bedroom month by month: green is paid, red is late, outlined is still to come, and hatched is empty. Select a month to open it in the rent ledger.
- Upcoming lists rent due, bills, notice dates and walkthroughs, soonest first.
If something does not look right
I cannot find the property I just added
Open Properties and clear any search or filters. Avoid adding it again; a second card with the same address is a second property.
The corner card still says Draw rooms
It counts rooms drawn on the Floor plan. Rooms added from the Board work everywhere else; place them on the plan from Place on plan, or close the card.
A room shows Available though the tenant moved in
A tenant alone does not let a room: record their agreement (step 4) with the room and dates, and check its status is Active.
Rent shows a dash instead of an amount
The agreement’s rent isn’t tracked yet. On the Rent page, choose Track rent on its row; months from then on expect the agreement’s rent.