Property and room setup
Set up the building the way you rent it: bedrooms and shared spaces, units if it holds separate homes, and parking.
On this page
Choose a property type and rental setup
You set both when you add the property. To change them, choose Edit property, the pencil beside its name in the top bar. Rental setup is a default, not a lock: any agreement can cover the Entire property or Specific rooms.
| Field | Example | What it means |
|---|---|---|
| Property type | House | House, Apartment, Condo or Townhouse is one home, with rooms straight under the property. Duplex or Multifamily building holds separate homes and can have units. |
| Rental setup | By room | By room gives each bedroom its own agreement. Whole property puts the address on one agreement, and its bedrooms show Rented with property. By unit and By unit & room are for a Duplex or Multifamily building. Also: Owner-occupied rental, Short-term rental, Mixed, Not rented. |
Add bedrooms and shared spaces
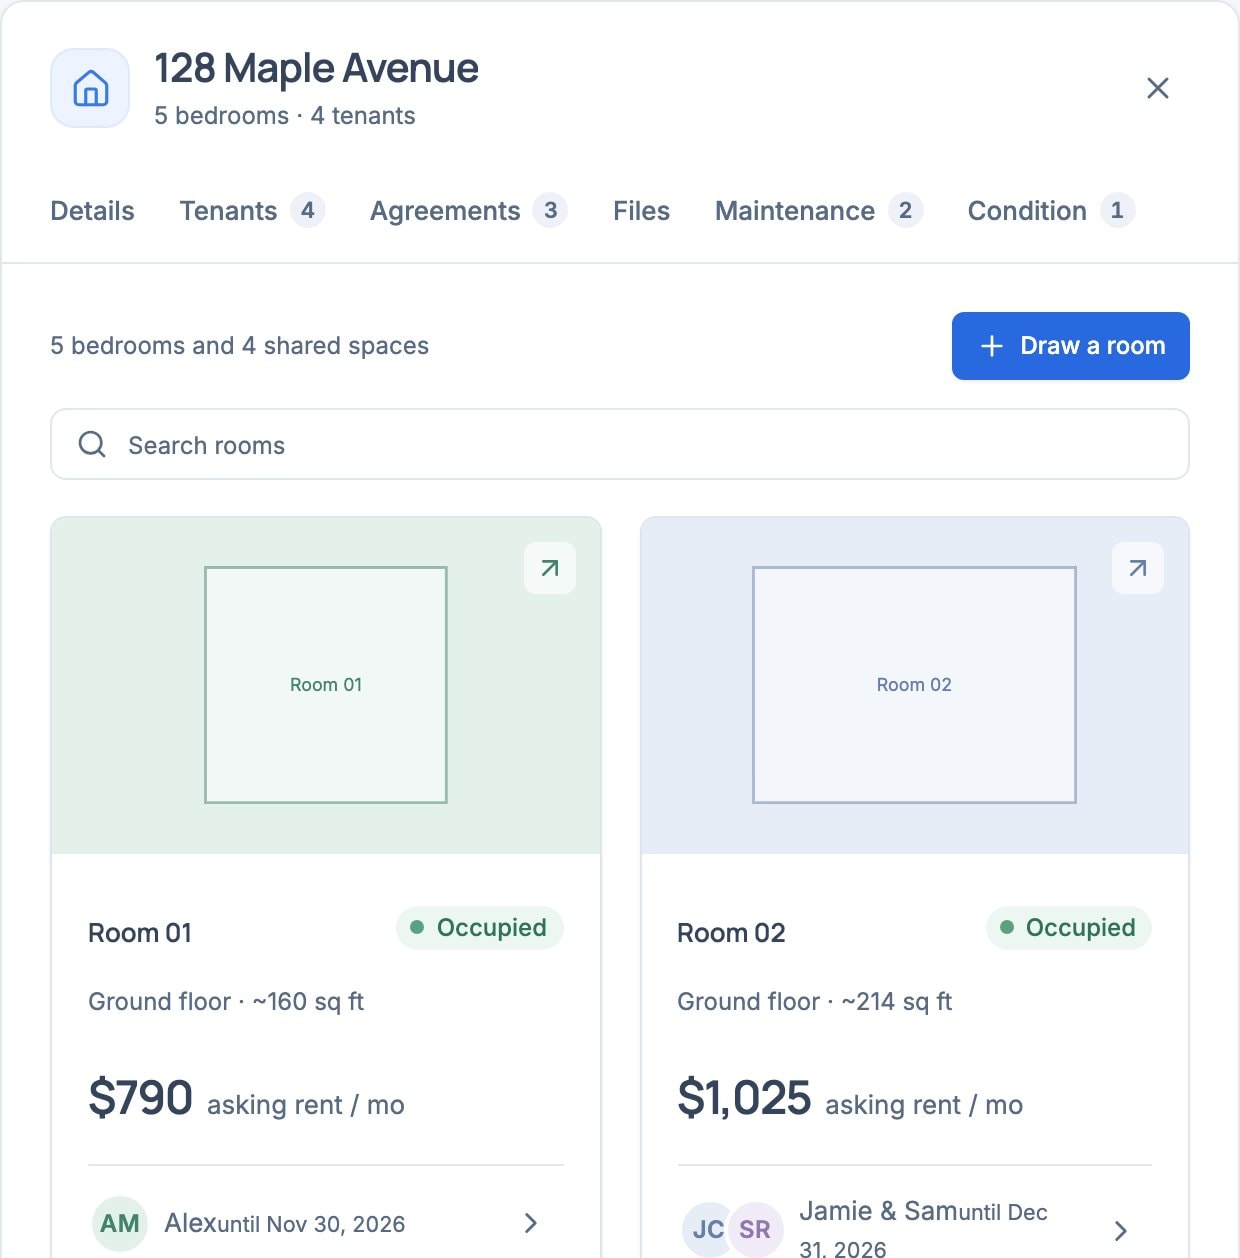
- Choose Add, then Room
On the Board. Roomline adds a bedroom, such as Room 1, at once, with no line to the property yet. Drag a line to the property card if you want one.
- Select the card and fill in Details
Use a Room name you’ll keep when tenants change, such as Front bedroom. Choose Save details.
| Field | Example | What it means |
|---|---|---|
| Room type | Bedroom | Bedroom for rooms you rent. Living, Kitchen, Bathroom, Shared or Storage for common areas, which don’t count toward occupancy or your plan. |
| Asking rent / mo | 790 | Bedrooms only. A planning figure; the rent people pay goes on the agreement. |
| Sleeps | 2 | Bedrooms only. How many people the room is meant for. |
Add units to a multi-unit building
Unit is in the Add menu only for a Duplex or Multifamily building, a By unit or By unit & room setup, or a property that already has units. Change these with Edit property.
- Choose Add, then Unit
Roomline adds Unit 1. Select its card, then the Details tab.
- Name it and tick its rooms
Enter the Unit name and tick its Rooms. A room marked In Unit 2 already belongs elsewhere. Choose Save changes.
Add parking
- Choose Add, then Parking
Roomline adds Parking 1. No Parking in the menu? Switch it on under Tools in Settings.
- Describe the space and assign it
Select the card. Enter the Space label, Space type and Monthly parking fee ($), choose the person under Assigned resident, then choose Save changes. Or drag a line between the parking and person cards.
Delete a room or keep its history
Choose Delete room at the bottom of the room’s Details; its tasks move to the property. For a room on any agreement, or with linked documents or condition records, you see Keep room history instead. Rename it rather than delete it, so past agreements and photos still point to it.